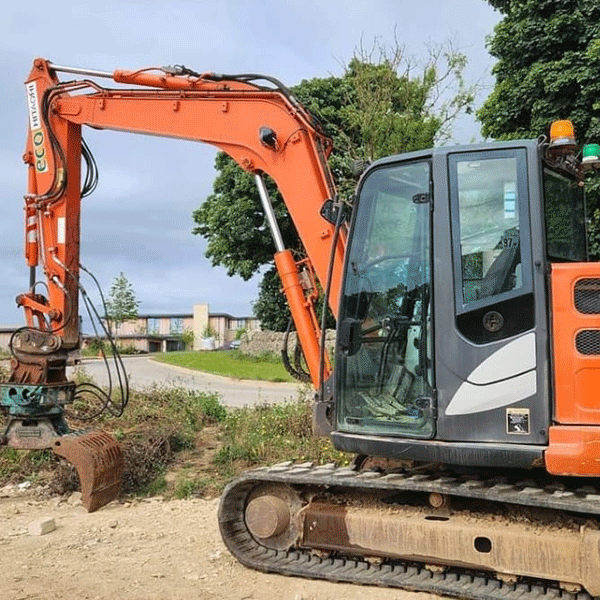
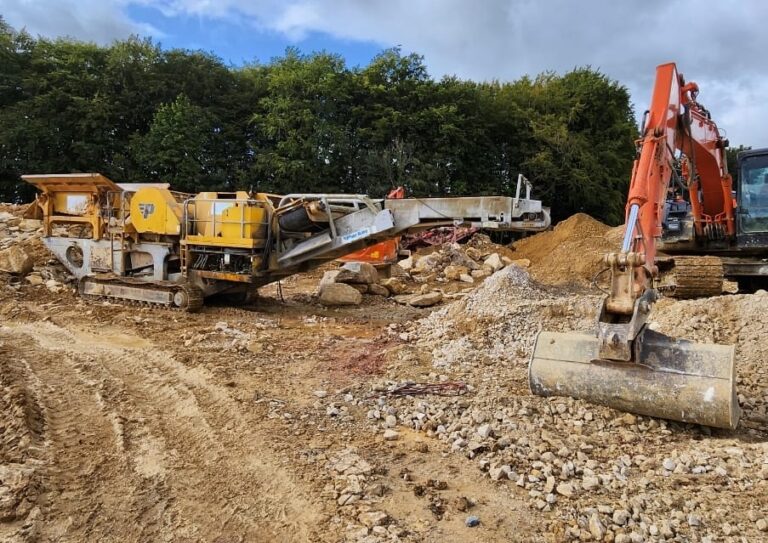
Excavator Will Not Start
Solving Problems When Your Excavator Won’t Start
Troubleshooting Your Excavator Will Not Start Issues
When your excavator refuses to start, it can be frustrating.
However, before you panic, you can make several common checks to diagnose and find the issue.
We have written a comprehensive article and checklist for “Why Your Excavator Will Not Start”.
Several common issues can prevent an excavator from starting. These include bad batteries, faulty wiring, loose battery clamps, insufficient fuel, circuit failure, and starter motor or generator failure.
One can check the battery voltage, inspect the fuses, ensure the fuel tank is filled, and examine the starter relay or relay circuit to troubleshoot. Additionally, checking for loose battery clamps and addressing potential fuel system issues, such as fuel shutoff power and the condition of the solenoid, can help identify the problem.
Go through our checklist below, and if the issue persists, consult a service technician for further diagnosis, and repairs may be necessary.
Our Excavator Troubleshooting Checklist
- Check the Key Type: Check the key type to make sure it matches the manufacturer's specifications for your excavator model. Some excavators require chipped keys with an integrated circuit chip embedded into the key, while others may require a different type of key.
- Access Code: If applicable, some excavators need both a key and an access code to start. Verify the access code and refer to the owner's manual for guidance on inputting the code.
- Pre-heating: Turn the key to the initial position and look for the pre-heating light. In cold conditions, allow up to 60 seconds for pre-heating.
- Fuel Level: It might sound basic, but ensure your tank has sufficient diesel. If the fuel level is low, fill up the tank and try starting the excavator again.
- Control Lockout Lever: The red control lockout lever should be up (locked), deactivating all controls. The lever in the up position ensures the digger and its components remain stationary. The engine won't start if the lever is down.
- Emergency Stop Button: Ensure the emergency button is in the up position on the right-hand side of the control panel. While the engine might crank with the button down, it won't start.
- Seat Belt Safety: Securely fasten your seatbelt while seated on the excavator. A green flashing light usually indicates a fastened seatbelt. Many start issues arise due to unfastened seat belts safety measure.
- Battery Isolator Switch: Ensure this switch is on. Signs it's off include non-functional electrical features like horns or dashboard displays.
- Fuses: Inspect the fuse box. Replace any blown fuses hindering key functions like the fuel pump.
- Drain Water Trap: Open the drain valve on the water trap and allow any water or contaminants to drain out. Be sure to catch the drained fuel in a container for proper disposal.
- Air Filter: Check the air filter for dirt and clean or replace it. Be sure to follow the manufacturer's instructions for cleaning the air filter.
- Check the Fuel Filter: Inspect the fuel filter within the engine compartment for damage or significant dirt buildup. If you notice potential contamination or harm, replacing the filter with a new one is advisable.
- Inspect the Battery: Ensure the battery is fully charged and has the correct acid levels and , check for loose battery clamps.
If Your Excavator Will Not Start, Try Hiring One Near You
If Your Excavator Will Not StartRead the Operator's Manual for More Information
If the above excavator won’t start checks fail, please take a look at the excavator operator’s manual for comprehensive guidance and troubleshooting tips.
If any dashboard warning lights illuminate, it might signal a significant issue or highlight one of the points above. Once again, refer to the operator’s manual or contact an engineer for advice.
Our List of Major Excavator Manufacturers to Reference
- Bobcat - Known for their compact equipment, Bobcat also produces compact excavators.
- Caterpillar (CAT) - One of the most recognised names in construction machinery, Caterpillar produces a wide range of heavy equipment, including excavators.
- Develon (Formerly Doosan Infracore) - A South Korean multinational company, Develonn manufactures heavy equipment, including excavators.
- Hitachi Construction Machinery - Known for its hydraulic excavators, Hitachi is a Japanese multinational company.
- Hyundai Construction Equipment - A part of the Hyundai Group, they produce a range of construction and mining equipment.
- JCB (Joseph Cyril Bamford) - A British multinational corporation, JCB manufactures various equipment, including the famous backhoe loaders, telehandlers and excavators.
- John Deere - While more commonly associated with agriculture, John Deere also manufactures construction equipment, including excavators.
- Kobelco - Another Japanese company, Kobelco, specialises in manufacturing heavy equipment.
- Komatsu - A Japanese multinational corporation, Komatsu is another major construction, mining, and military equipment manufacturer.
- Liebherr - A German-Swiss multinational company, Liebherr manufactures a broad range of equipment, including excavators.
- SANY - A Chinese multinational heavy machinery manufacturing company, SANY has grown rapidly in the global market.
- Takeuchi - They specialise in compact equipment and are known for introducing the first compact excavator.
- Terex - An American global manufacturer of lifting and material handling solutions. In 2016, Yanmar acquired Terex Corporation's compact construction equipment business, which included producing
- Volvo Construction Equipment (Volvo CE) - Part of the Volvo Group, Volvo CE manufactures various construction equipment, including excavators.
- XCMG - Another major Chinese manufacturer of heavy machinery.
- Yanmar - a Japanese company renowned for its compact construction equipment, notably its compact excavators. In 2016, Yanmar acquired the compact construction equipment business from Terex Corporation. This acquisition encompassed producing and selling wheel loaders, midi/mini excavators, wheel excavators, and other related products.
Find and Save on Excavators Nearby
- {{ listingType.name }}
- prev
- next
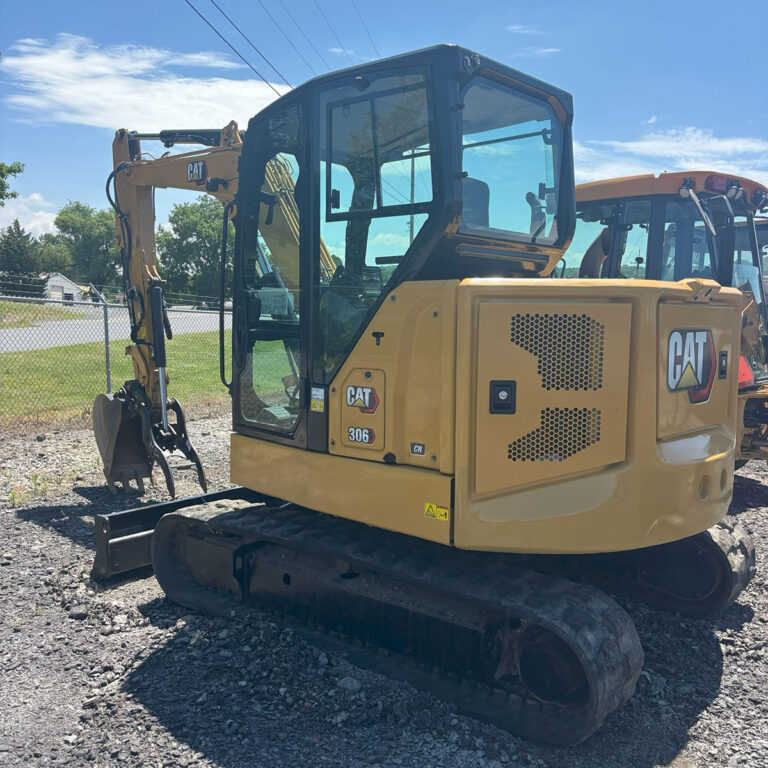
2021 CAT 306CR Mini Compact Excavator 
- Strickland Equipment Company
- Harrisburg
- 15/06/2026
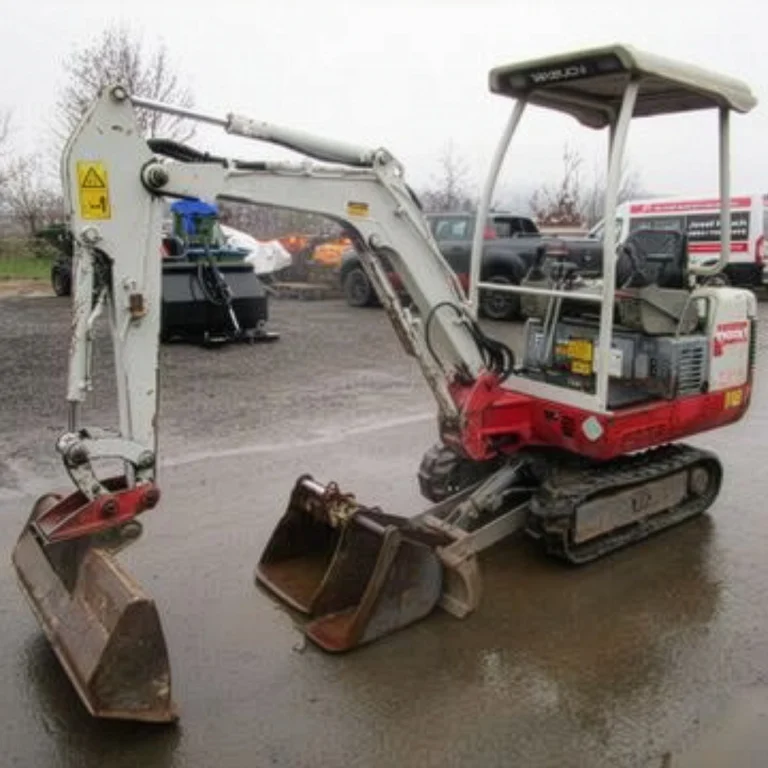

Gloucester 2.7 Tonne Mini Digger
- FWR Services
- Bristol

13 Ton Excavator with Rotation Grab Gloucestershire
- FWR Services
- Bristol
